|
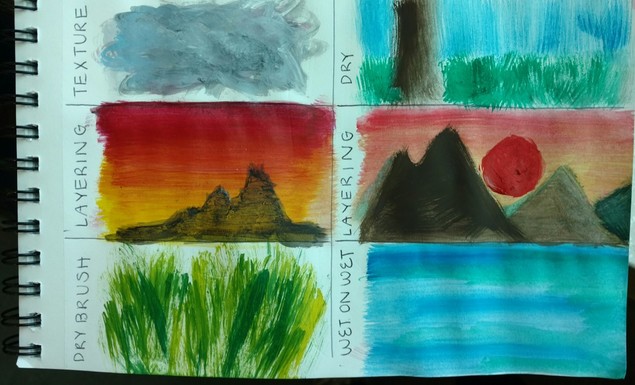
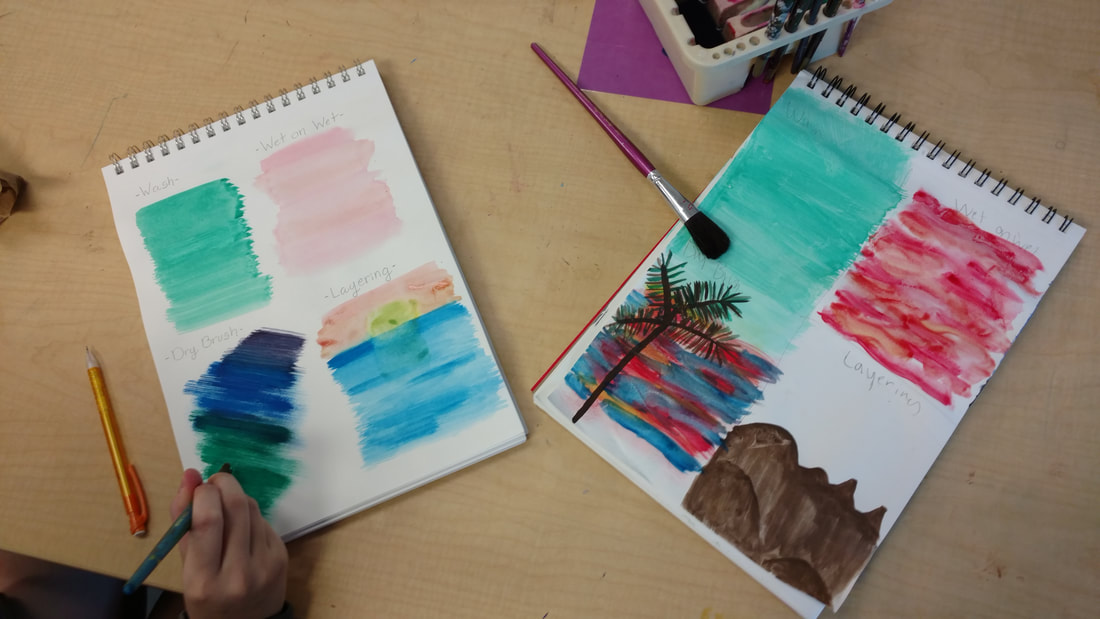
Bootcamps are a simple and effective concept. The idea is to compress essential instruction into a short amount of time, creating a strong enough foundation for students to be successful working independently. In practice, Bootcamps can be tweaked endlessly. This year I added a few components to my Art 1 Painting Bootcamp, where students learn the basics of color theory and how to use watercolor and acrylic paint. All the painting described below is done with color mixing from warm and cool primaries, plus white and brown. All my teaching is organized by my Artistic Thinking Process. My Painting Bootcamp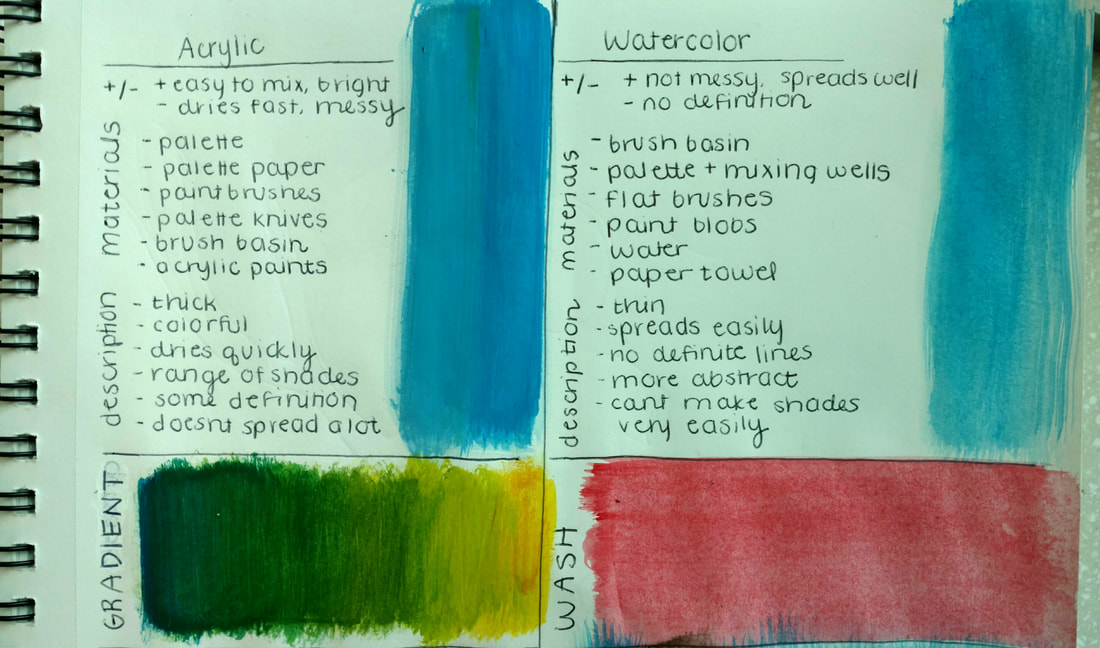 Day 1: Color theory and setup with acrylic. I start by asking kids to make a chart that they will use compare and contrast acrylic paint, pictured above. I ask them to take notes about the materials needed for each as I describe the setup and procedures we use as pass out materials. Next, I ask my table groups, which have 3 to 4 students, to select a page from a magazine. Then I tell them about the color mixing challenge and overview basic color theory. Groups have half an hour to mix matches for as many colors in their chosen magazine page as they can. They get immediate feedback by placing the paint right on the page in the area they are trying to match. If the color is exact, they circle it and add it to their total. If it's off, the group problem solves about what they need to change or add to get it right. When time is up each group shares their total number of matched colors, along with something that they learned during the activity. I leave lots of time at the end of this first class to teach clean up procedures and check for mastery. Then, if time allows I ask students to write what they think about acrylic paint in the +/- section of their comparison chart. 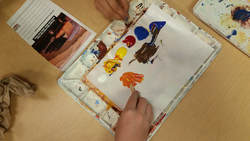 Day 2 and 3: Acrylic and Watercolor Techniques I teach the techniques for watercolor and acrylic over two days by demonstrating then having students try. For acrylic I teach smooth gradient, painting with visible texture, layering and dry brush. For watercolor I teach dry brush, wash, layering and wet on wet. I discuss the basics of atmospheric perspective as I demo layering in each medium. I frequently mention that they are collecting information that will help them decide which type of paint to use in the summative assignment, which is to create a landscape painting .
Days 4 - 7: Development and Creation I ask students to create a landscape painting for the summative artwork for this Bootcamp because:
For the Development stage I ask students to pick three of the following tasks: - Search for and combine reference images (I require students who do not have a photo they've taken to compile at least two online images with a compositional sketch).
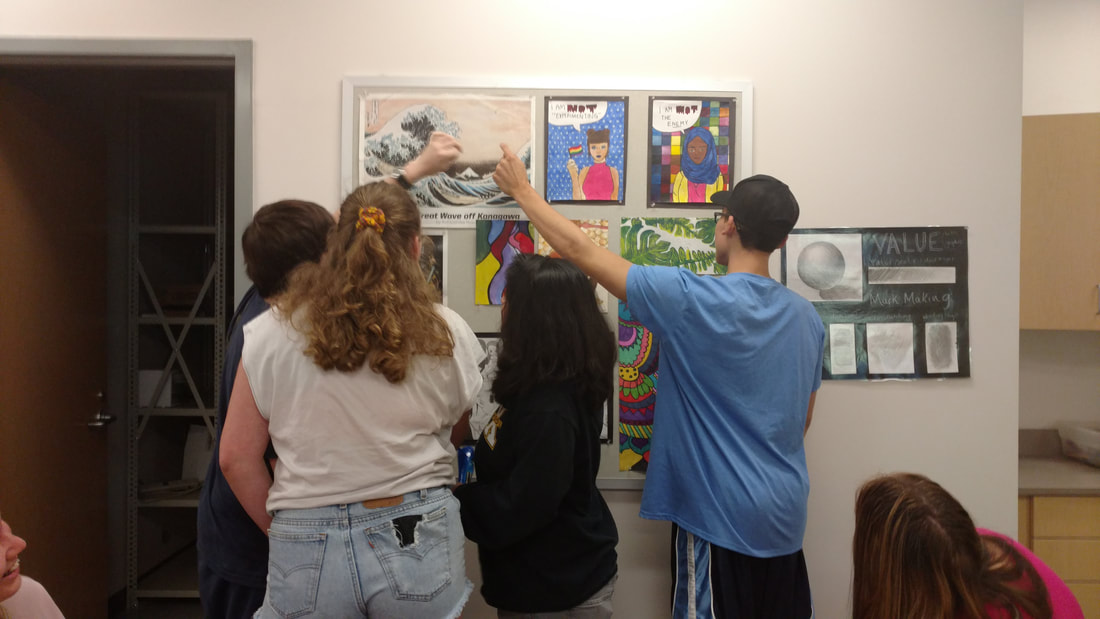 I started day 4 with this short group activity. Students identified components of artwork that contributed to the sense of space created by the work, then presented to the whole group. 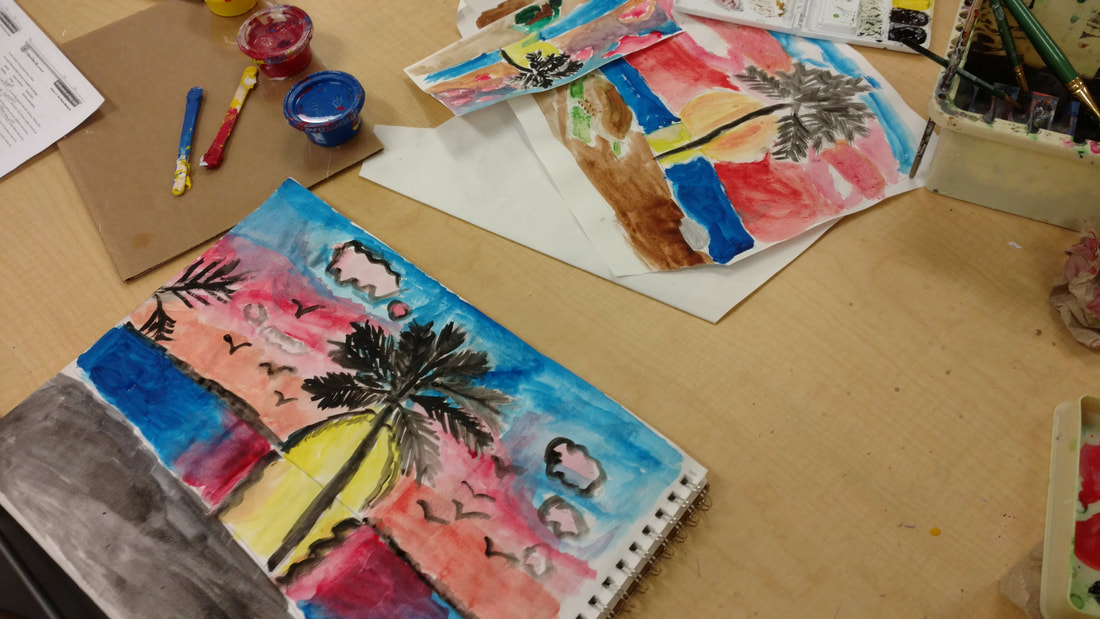 This student decided to make multiple practice paintings. He kept forgetting to paint the sunset first and the silhouette second. After his third try he and I both agreed he was ready to start the final. This student decided to make multiple practice paintings. He kept forgetting to paint the sunset first and the silhouette second. After his third try he and I both agreed he was ready to start the final. Students spend at least a full 90 minute class on Development, sometimes two. At this point in the year I am still establishing my expectations for ownership and this part of the process needs to make abundantly clear that the student needs to put in the work to build an artwork. I do not give them answers - they make their own path. 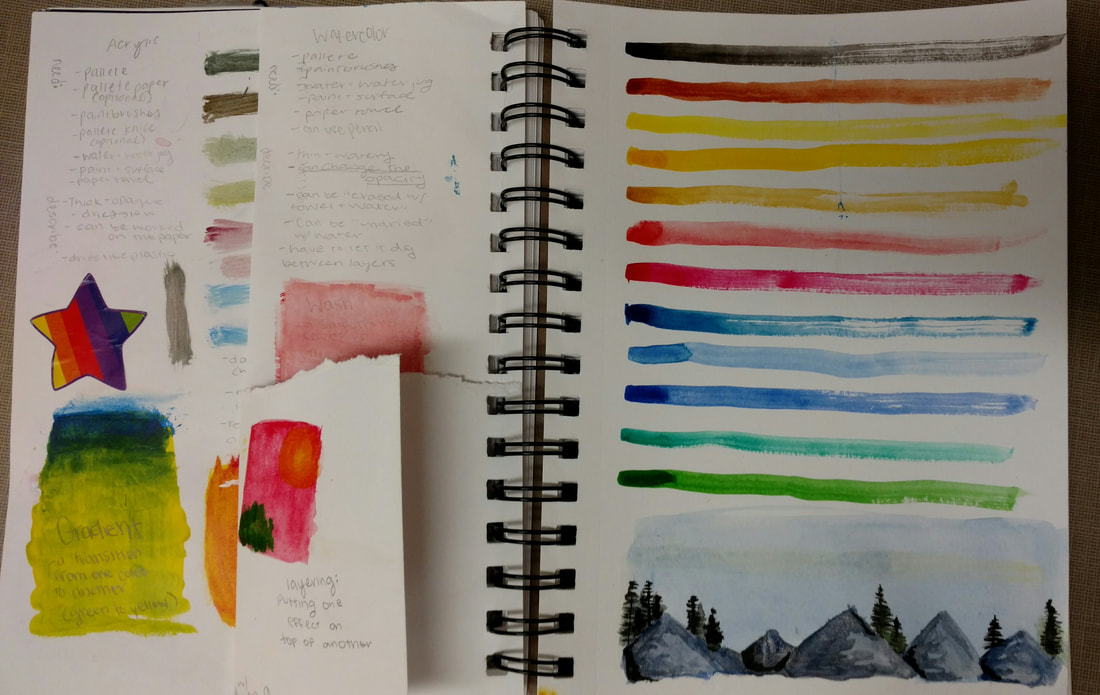 Sarah's Development focused on experimenting with color. This organization is all her own. After Development, students move on to Creation, which we'll finish early next week. I'm excited to see how these birch trees turn out. :) 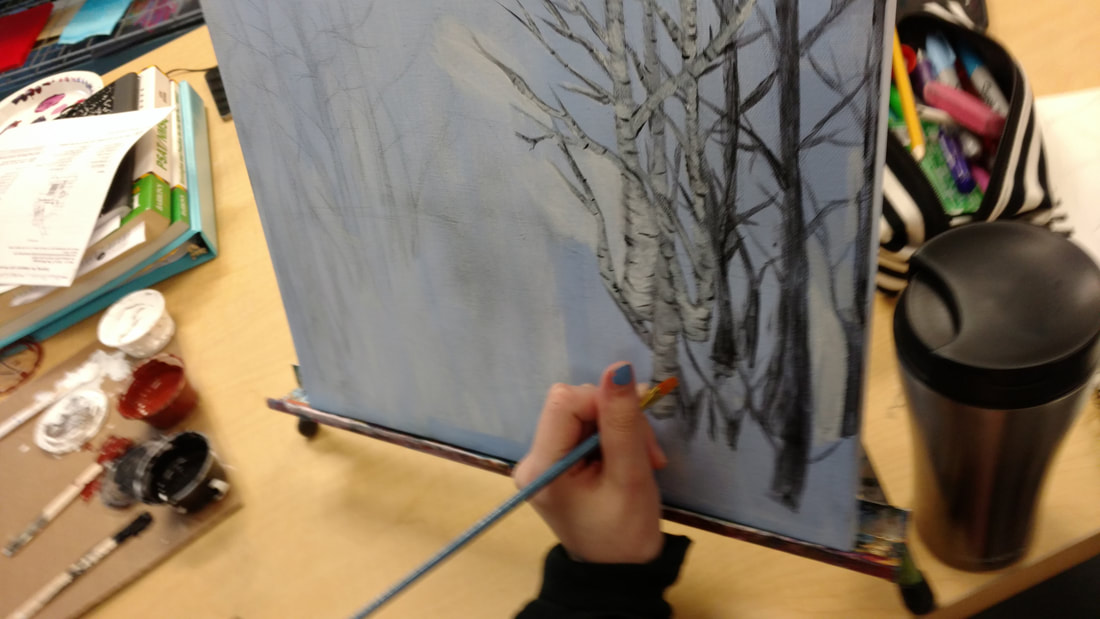
5 Comments
How do you make the slow, tedious work of colored pencil drawing fast? Last year, when I taught my Art 3 students a colored pencil Bootcamp, I didn't. We spent two weeks with prisma technique and producing finished work. The work was pretty and highly polished, but there was an over emphasis on realism. Many of my kids really, really wanted to make drawings that looked just like their photo references - even the kids who typically had a very different style.
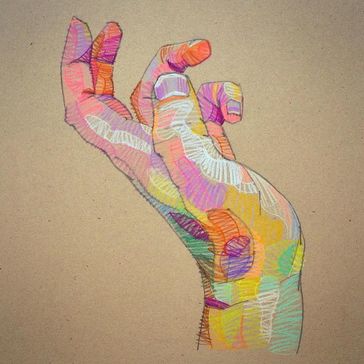
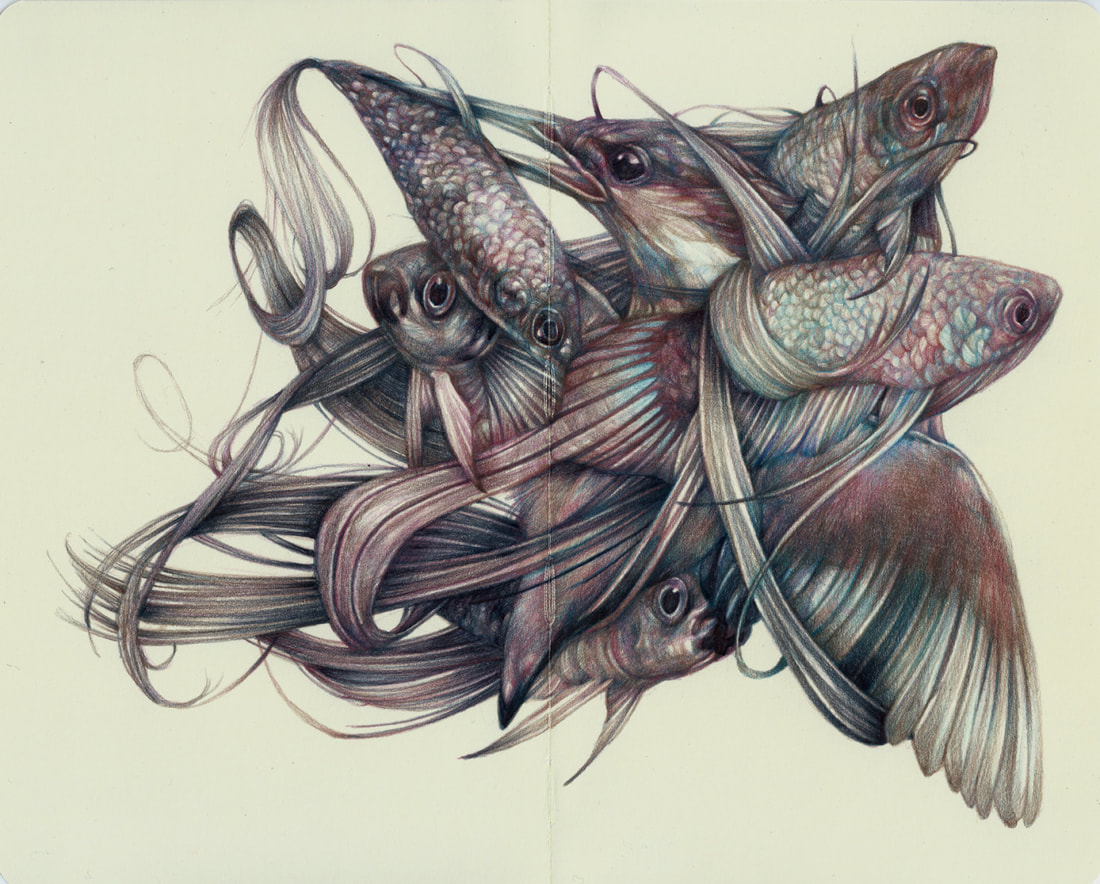
This didn't sit well with me. I'd agreed when asked by my department to include colored pencil instruction in Art 3, so skipping this Bootcamp wasn't an option. This year, my goal was to make it better. I had two things I wanted to accomplish: Broaden students' view of success beyond representational work and shortening the timeframe to no more than a week. One way I set about meeting my goal was introducing the work of two colored pencil artists; Marco Mazzoni and Lui Ferreyra, work pictured above. Examining and discussing their worked helped expand students' assumptions about what colored pencil work can and should look like. I wanted them to play around with different styles and to try something other than replicating an image perfectly. I decide to start class with drawing tasks so short that my kids would have to draw without over thinking. 10 Minute ChallengesDay 1: Cup in arbitrary color. 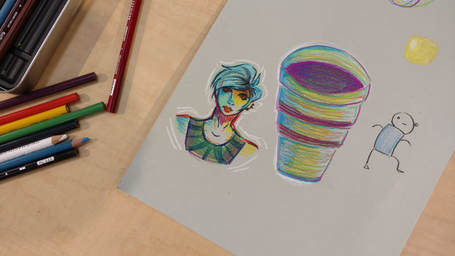 "I think this has totally change the way I think about color!" - comment from a student. 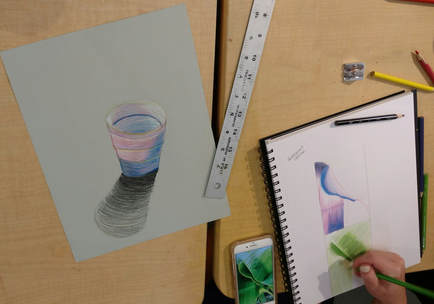 Day 2: Plants. I had students select a palette of three colors first, then got out the plants to force them to "make it work". 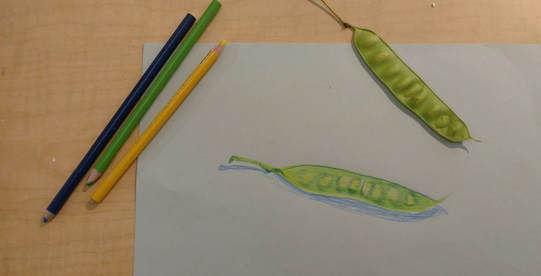 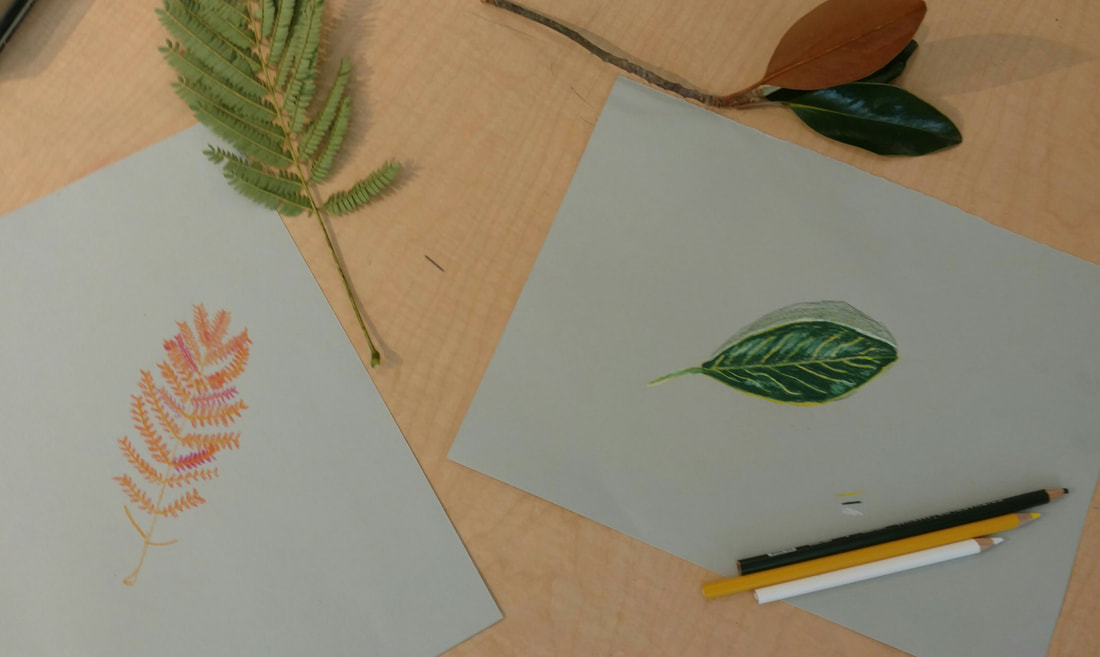 Day 3 and 4: Word illustration. I handed out words on slips of paper as kids entered the room. They had 2 minutes to plan, then 10 minutes to draw. At the end groups switched tables and tried to match other groups images with the word they depicted. On day 4 I passed out the words again, only this time they had to illustrate the opposite of the word's meaning. 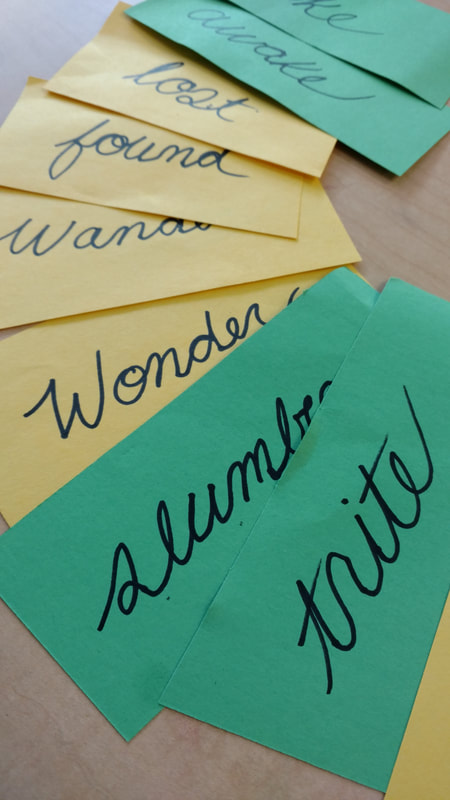 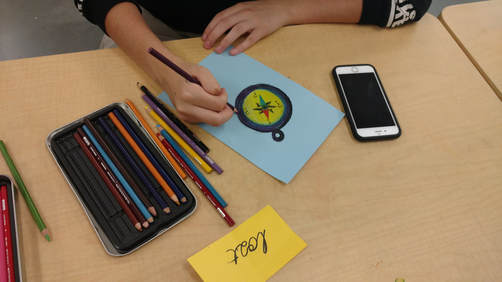 Day 3 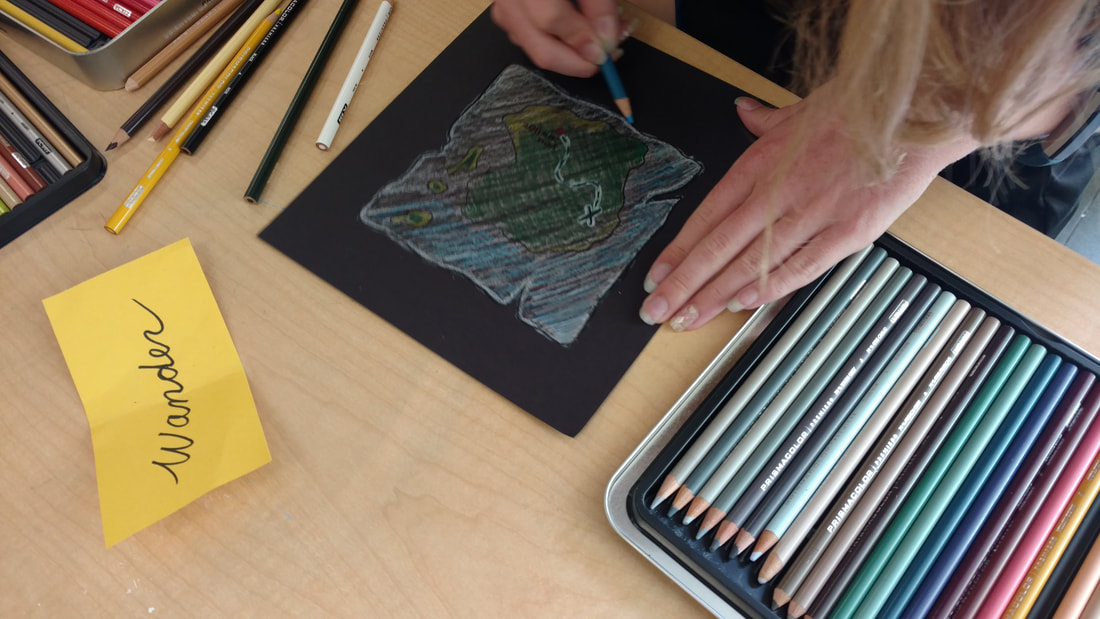 Day 4 - illustrating the opposite of "wander" with an image of an obscured map. 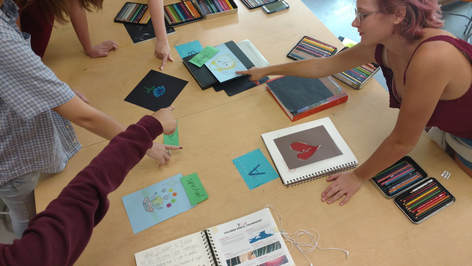 Matching words and images as a group with lots of analytical discussion. Colored pencil is not my favorite medium and realism is not my favorite style. However, some of my students like both. Many are doing very realistic drawings for their summative drawing for this Bootcamp, and that's fine, because they know that there are other options out there that are also valuable. I'm happy with how this Bootcamp turned out because it became more open and supported a range of styles. Plus, quite a few of my kids are taking lessons they learned in the 10 minute challenges and applying them, which goes to show that deep learning can quickly! 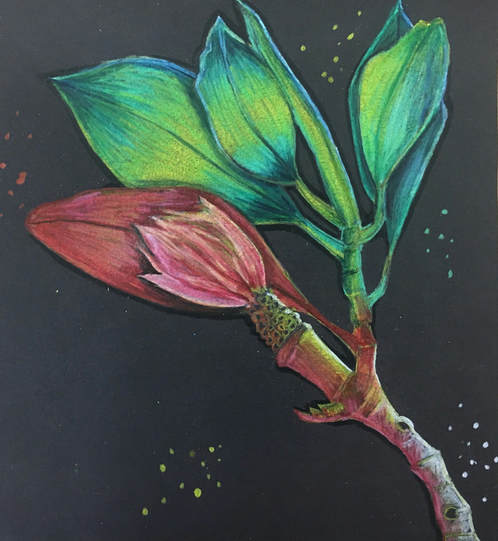 Summative assessment in progress. I start Art 1 with Bootcamps because they do two vital things very well:
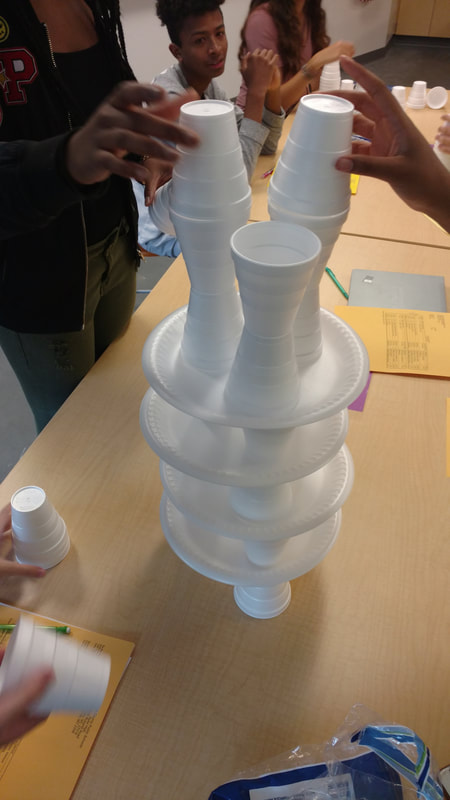
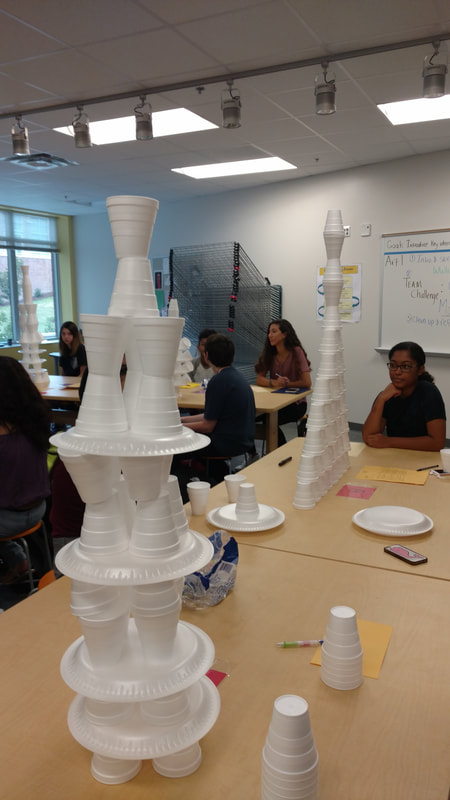
Bootcamps are my version of opening centers. Once the weeks of Bootcamps are over, students know how to use, as well as have access to, a broad range of media. The trick, for me, is to keep the Bootcamps short in order to provide the challenge of choice and the deep learning that comes with it for the maximum amount of time. In my experience, students bring a range of capabilities for independence to my class. Some are ready to generate their own ideas from day 1, while others are unsure and need to learn the steps of ATP to feel confident with self directed work. To support the needs of both extremes, as well as all those who fall between, I make sure to plan Bootcamps to include both open ended options for work, as well as more concrete options.  My drawing Bootcamp this year took 5 days. I told students at the beginning to few the first two days as a time to collect ideas, as they would be expected to apply new learning to plan and create an original drawing in the media of their choice. I frame the exploration stage of the Bootcamp as research, which helps kids shift their mindset from expecting answers to knowing they will be in charge of important decisions. 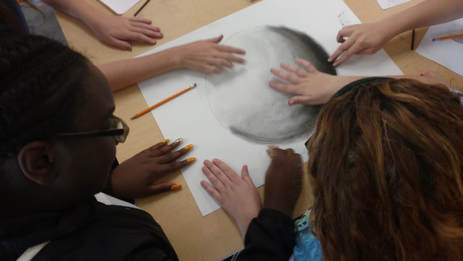 Day 1: value in graphite and charcoal, with a short whole class demo of shading a sphere with graphite, followed by the group challenge pictured above in charcoal. Day 2: Draw Around the Room, inspired Diane Jaquith and Cynthia Gaub, with centers set up that students rotate through for chalk, oil pastel, colored pencil and pen. Day 3: Development starts for the summative drawing students will create in a drawing media they'd like to explore further. Students complete two Development activities from the Artistic Thinking Process. Days 4 and 5: work time with a gallery walk at the end of the last day. 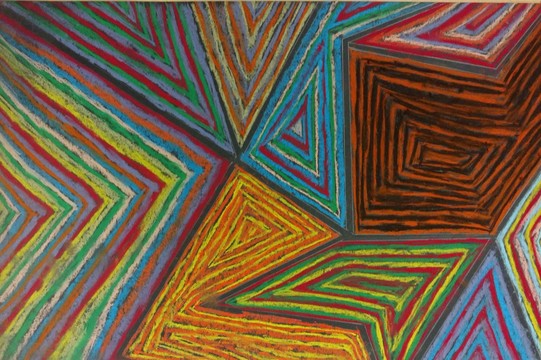 This year's drawing Bootcamp went well, in large part because I was very consistent in referencing the ATP for every stage. I see the shift I'm looking for happening already; students are starting to view the tasks I assign as a way to collect information, not steps to complete for a grade. They are starting to consider their personal goals and needs instead on focusing on what they need to do to earn an A. In my classroom, the first day of school is for games. Kids learn more when content is connected to fun and I want them to start internalizing my Artistic Thinking Process (ATP), the framework I structure all class content around, ASAP. So I build games to teach it, as well to get to know each other and have fun. This year's version, Can You Build It?, had three rounds, meant to introduce a variety of Inspiration and Development strategies, along with collaboration and problem solving. As kids come in the classroom I hand them a card which tells them what table to sit at, keeping groups even. The class period starts with a brief survey using Google Forms. I ask about student's experience, goals for the class and a bit about them. During this time I ask everyone to write one verb on the card I gave them. I collect the cards to be used for round 2 and start the game. I've written about each section below using the ATP framework. 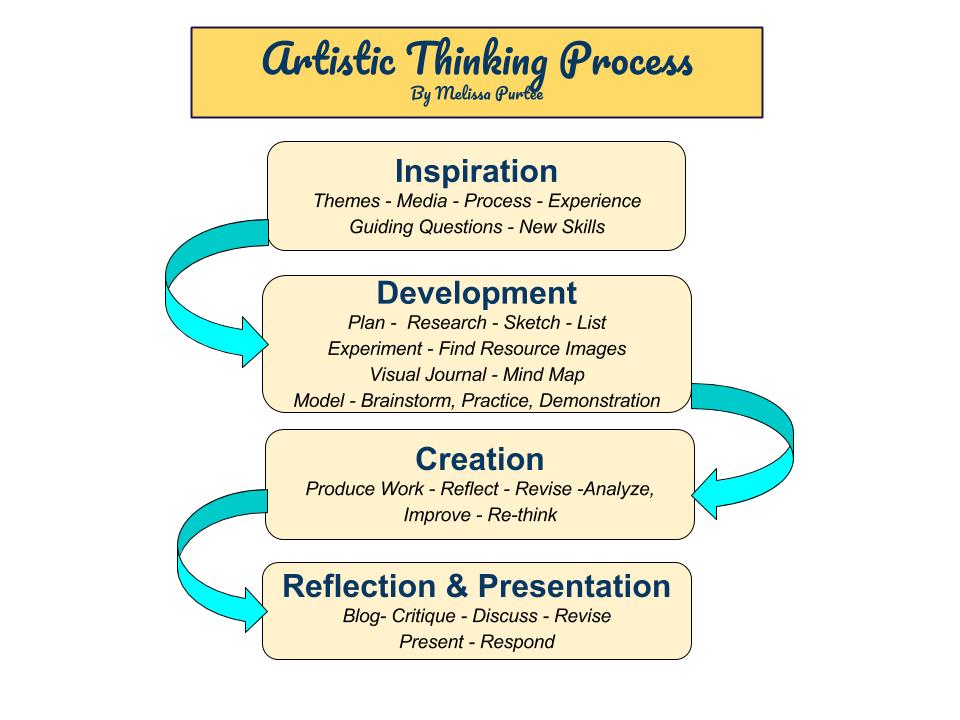 Round 1: Cup StackChallenge - stack the cups as high as you can in ten minutes. No adhesives. Points for height and aesthetics. Materials: styrofoam cups Inspiration: New media. Development: Experiment. Give groups a few minutes to mess around with the cups to figure out a plan for stacking. Creation: Students stack and build for 10 minutes! Reflection: Each group shares their strategy with the class. Round 2: Active IllustrationChallenge - communicate the work on the card your team selects by acting it out. No sound. There must be a visual element created by the team. Points for craftsmanship, clear communication and use of humor. Materials: Verb cards that students created during the survey, plus a range of materials for construction. I let my kids use paper, construction paper scraps, newspaper, markers, tape and scissors. Inspiration: Themes. Development: Brainstorm. Give groups a few minutes to list ideas for communicating their word. Creation: Quick! 15 minutes to create presentations and the visual component. Presentation: Each group performs, then the class attempts to guess their word. ****Not pictured because I was laughing so hard during the presentations I forgot to take photos!*** 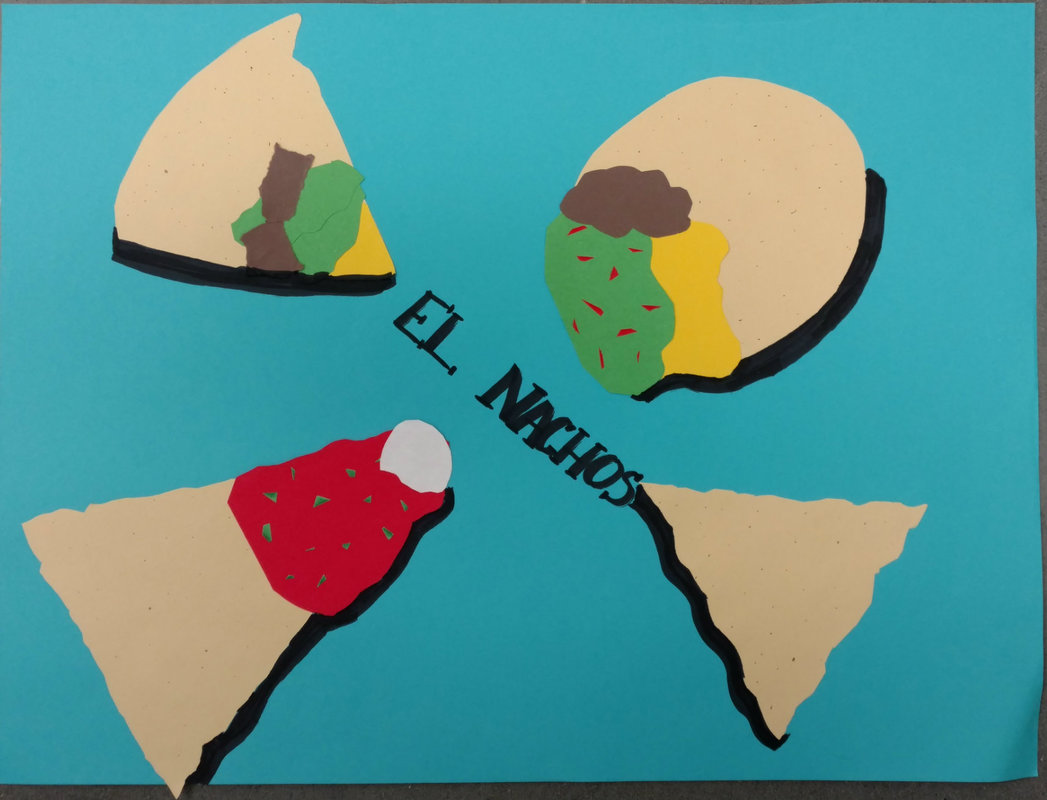 Round 3 poster. Student explanation of use of symbolism during persentation: "We all like nachos and we're all different, so we drew different toppings. I'm kind of salty, but still awesome, so I'm the plain chip with a hint of lime." Round 3: Table Mascot or LogoChallenge - create a mascot or logo for your table group using symbolism. Materials: choice of 2D media, poster size paper. Inspiration: Guiding question. Development: Research. What do you have in common? How can you communicate it visually? Creation: Students work together to create images. Presentation/ Reflection: Each group presents, sharing how they used symbolism to represent the group. Now I know my kids better and have some pretty awesome decorations.  |
Mrs. PurteeI'm interested in creating a student student centered space for my high school students through choice and abundant opportunity for self expression. I'm also a writer for SchoolArts co-author of The Open Art Room. Archives
December 2019
Categories
All
|

 RSS Feed
